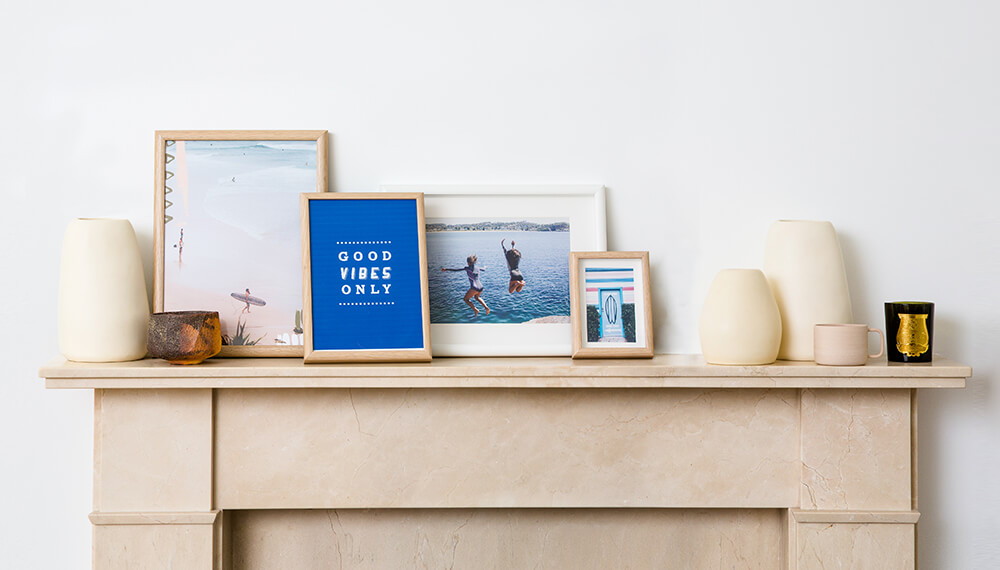
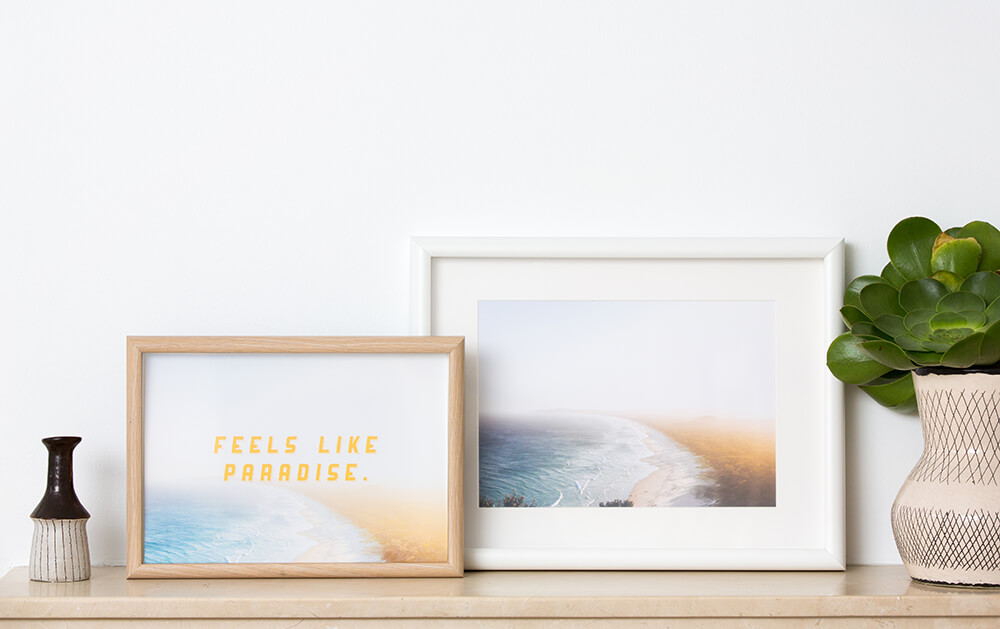
What better photos to print and display than photos from your favourite holidays. Near or far we all love to travel, I know I certainly do – be it the USA, Europe, India or even somewhere closer for a weekend away.
It’s important to capture these moments to remember long after your trip.
A lot of people miss the next — and as important — step: print out your favourites and put them on display for feel good vibes.
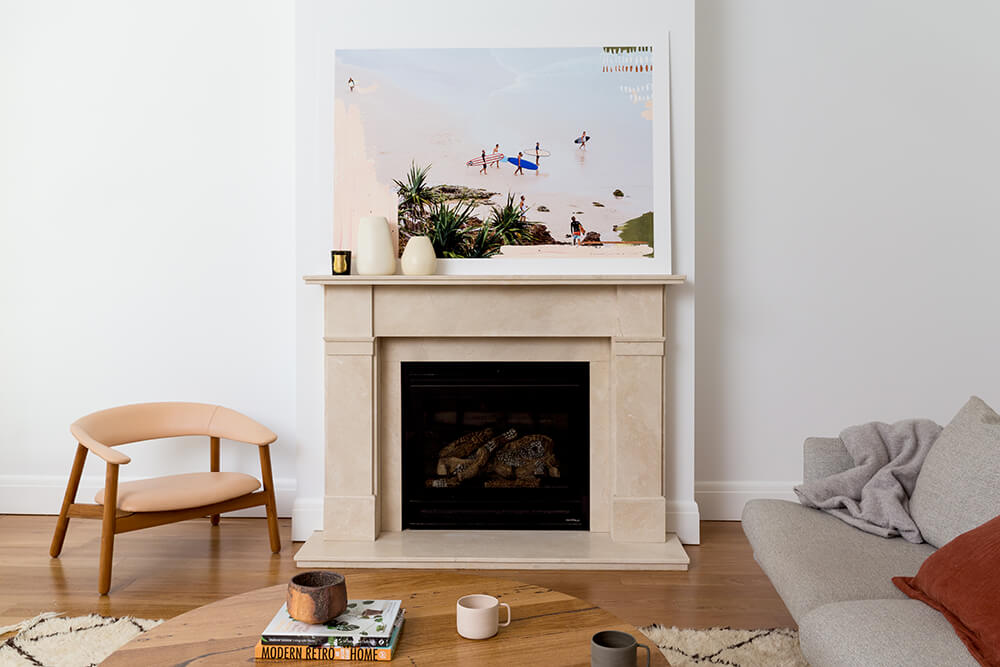
My tip is always to print and display really big prints that help fill a wall — we printed these on foam core with a local printer/framer, but you could easily choose to print a canvas using Canon’s Photopico instead.
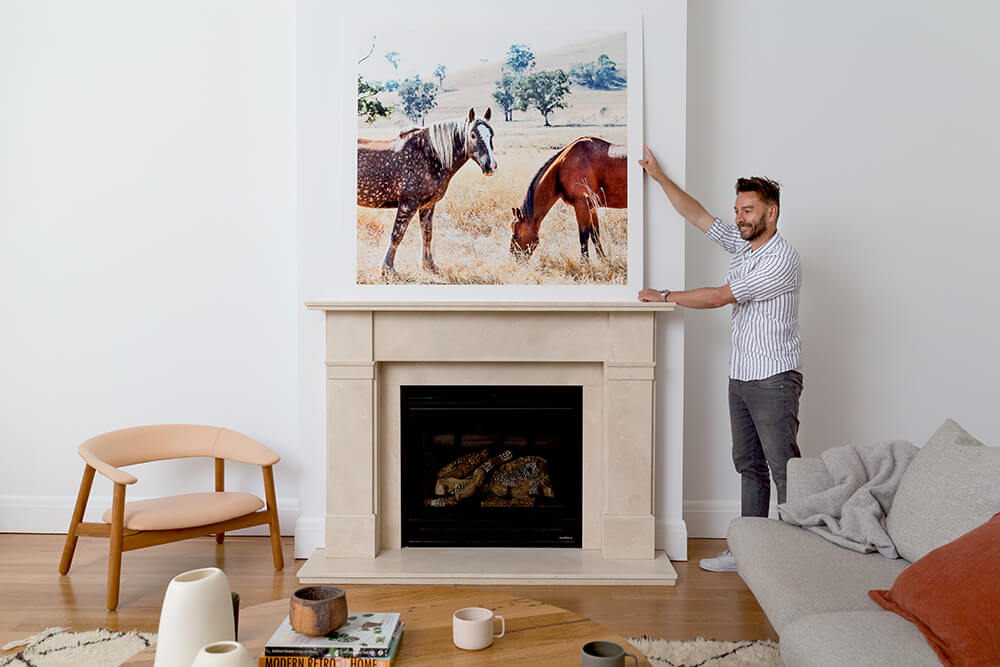
Selecting your images is easy. Trust your instincts and print your favourites, whichever ones speak to you. Here we were inspired by a favourite place — the beaches of Byron Bay (gotta love this place it’s like paradise), plus a hero shot of some horses our photographer spotted on one of her holidays, as well as a beautiful shot of purple sky.
We have displayed some of these images on the floor or on a mantle piece (such a great place to display an artwork and really make a statement a real hero spot if you have one). We also noticed a blank space in the hall so placed another favourite image here, so it’s one of the first things we notice when we walk in the front door – great memories!
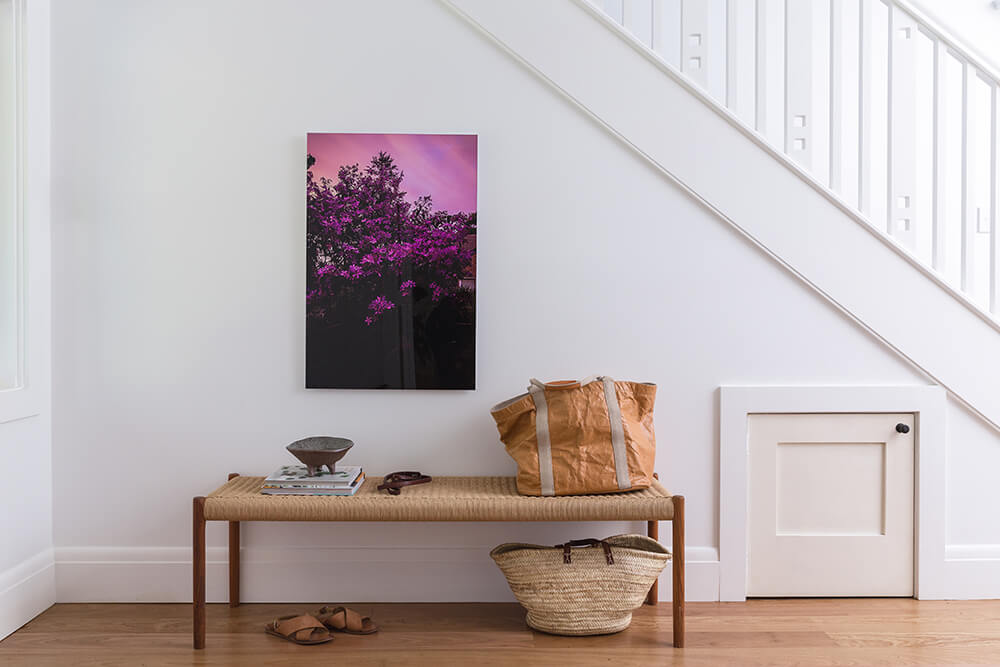
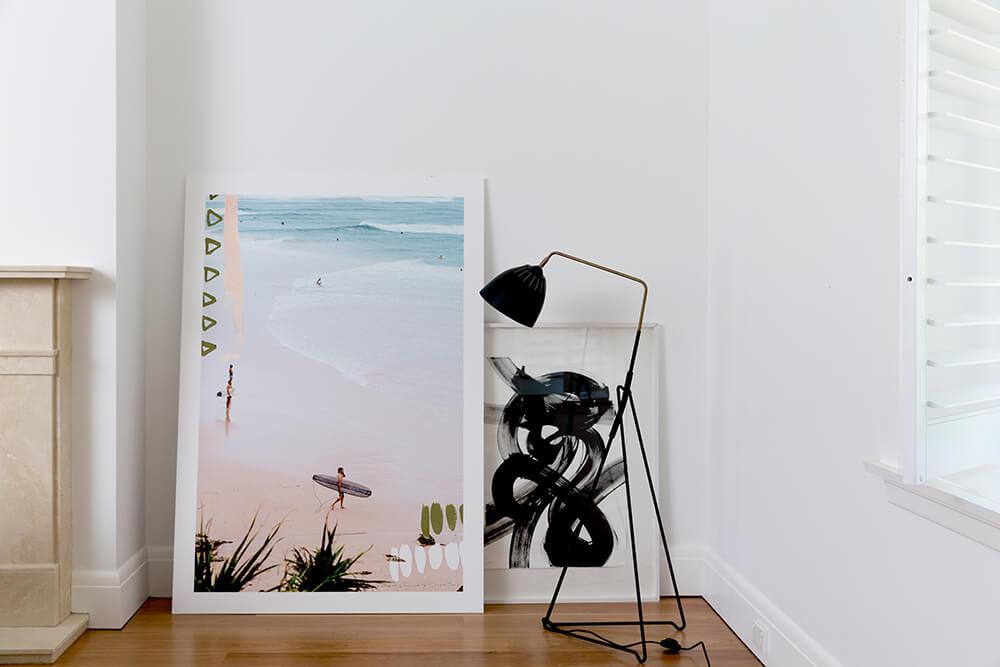
- Print as big as possible to really make your favourite images stand out. Remember that you’ll need a good quality image from a camera to enlarge the image.
- Think outside the box — you don’t have to hang prints on the wall.
- Print what you love — it will always be in style and bring back great memories.
- Prints/art work don’t need to match the décor — avoid things being matchy-matchy. A great print can work in any space.
- Think about less likely places to hang your prints — hallways are always under-utilised and have heaps of wall space. They’re perfect for a big print, or even a gallery-style hang (that you can keep adding to).
Easy Mantle piece styling
Not all your photos need to be printed and hung on the wall, especially if you’re renting (no need to nail or screw anything to the wall) — this is super easy!
All you need is a surface to place your prints on, so a mantle piece is the perfect place to get creative and put your photos on display. Style up your mantle piece (this also works on a sideboard, shelf or even a window sill) and create a feel-good display.
Print holiday snaps, photos of family and friends or inspirational images or quotes — make this display make you smile!
Print out your favourite photos from your camera or your phone to your Pixma printer (every home needs one of these).
Here’s my cheats guide to doing this in your home:
- Select your spot your going to style up — its good to move things around so this is great as its not permanent.
- Print your photos and favourite things — think about a theme or colour palette or just print out what catches your eye, you can update your pictures in frames as often as you like!
- Pop them in frames Ikea, West Elm, Country Road, Freedom, Target and more all offer affordable off the shelf options — I recommend one style and similar colours, so either black, white or timber frames for a more uniform look. If you are a little more adventurous and quirky mix and match for a more eclectic look — there are no rules, so go with your instincts.
- Group your photos together in a cluster, vary these sizes of your prints, when grouping think about of creating a high point often a triangular shape helps to make the cluster work – feel free to move it all around until it feels right and don’t forget to add objects like books, candles or other trinkets.
- Update this and move it around as the mood strikes and add a vase of fresh flowers for an instant pick me up!
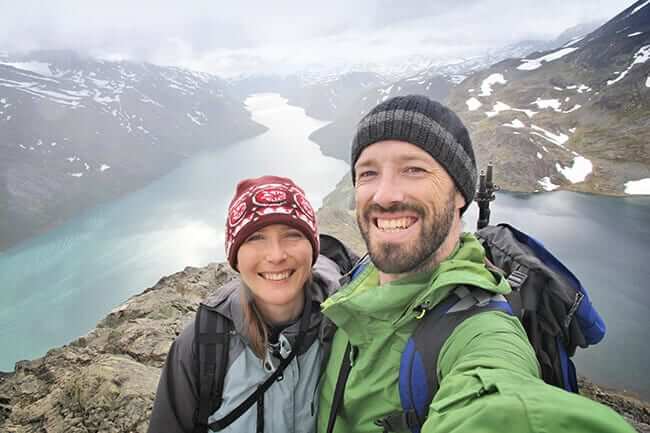


The question of which photos to choose is probably the most daunting part. So much so, that I suspect that many photographers (myself included) are guilty of just throwing up our hands in frustration and saying, “Forget it! I can’t choose and I don’t have time for this!” Then, they abandon the project entirely without making a single print. That’s why I suggest trying to get prints made as soon as possible after the shoot. If you don’t stay on top of it, you run the risk of creating a ridiculous backlog that you’ll never sort through. Ideally, each time you photograph an event, you’d come home and make your selections immediately. Unfortunately, life and procrastination have a funny way of getting in the way of logical, but lofty goals like that.
My solution is this — I’ve found that I can manage my personal photos best if I set aside a couple of hours at the beginning of each new season to choose and order prints from the previous season. Right now, I’m browsing the almost 3,000 photos I took of my family between June and August of this year. I plan to place an order for prints tomorrow morning, so I can move on with enjoying (and photographing) fall without feeling guilty that I still haven’t finished with summer. It may seem like a little thing, but it helps a lot, particularly if you find yourself getting stressed out about things like this.
Here’s my step- by-step process for managing my personal photos and choosing which ones to place in an album:
1. Set a Date
Literally set a date in your date-book, Google Calendar or Outlook (whatever works) to go through your photos. For me, just allocating the time to do this is half the battle.
2. Decide What You Need
How can you choose if you don’t know how you’re going to use them? If you’re going to order an album with 15 pages and one image on each page, you’d better narrow it down to 15 photos. Make a plan and stick to it.
If you’re going to put together albums, I suggest sticking to one event per album. Remember how your parents had those huge photo albums full of hundreds of 4x5s, covering months, if not years, of your family’s lives? These days, I suggest making your albums more manageable. Stick to one event per book, if possible. That way, when you pick up the book with the brown embossed leather cover, you know you’re going to be looking at your trip to the Grand Canyon (not the Grand Canyon, your sister’s baby shower, your cousin’s graduation, a random beach day, and your honeymoon). Give each event the respect and space it deserves and treat yourself to knowing exactly what’s in each album. To showcase really special memories, I like the quality and simplicity of the Hudson albums.
3. Go Through Your Images
Do it all in one sitting, if possible. Just get it done. Sometimes if I’m having a really hard time picking, I’ll cull out everything obvious first (bad expressions, poor exposures, etc.). Then, I go through them a second, third or even fourth time until I’ve gotten it down to the absolute best of the best. How do I choose what’s “best”? It’s completely subjective, but honestly, my best answer is to go with your gut. If you love it, it’s the right one. If you aren’t sure, it isn’t. Be tough with yourself and make tough decisions.
Once you’ve decided which ones you like best, narrow down further by choosing photos that will complement each other, but are diverse enough to be interesting. If you’re putting together an album of your vacation to Tahiti, don’t make every picture white sand, turquoise sea, and blue sky. Lovely as it is, it’s not interesting to look at 15 photos featuring the same color scheme and subject. Instead, choose one wide shot of that perfect beach day, a silly close-up of your sweetheart splashing in the water, a breathtaking sunset, an interior photo from the fabulous restaurant…you get the idea. To summarize- go with your gut, pick the best of the best, and avoid uniformity.
4. Order it Right Now
Once you’ve made your choices, don’t take time to second guess them. You’ll always have your digital files, so you’re not giving anything up by choosing to print one photo over another. You’re getting things done and moving on with life!
